
Spring Boot是什么
Spring Boot makes it easy to create stand-alone, production-grade Spring based Applications that you can “just run”.
还是直接从Spring官方摘下来,Spring Boot实际上就是方便你快速构建Spring Applications的工具。重点在最后you can “just run”,Spring Boot真的可以帮助你直接Run去启动一个Spring应用。
just run
上面了说这么多,到底什么是you can “just run”呢?
这个首先就要对比一下传统模式下我们搭建一个Spring based Application的时候需要怎么做:
- 引入Spring相关的jar包
- 使用Maven或者Gradle这样的管理工具
- 没有管理工具,则要手动的去把jar包复制到项目的classpath目录下
- 编写ApplicationContext.xml文件
- 引入一些配置文件,比如说db.properties等
- 在XML中编写我们需要Spring容器帮我们管理的bean
- 启动Spring容器
以上只是一个粗略的过程,而在实际开发中,这些工作显得十分繁琐,举个栗子:
首先需要管理好jar包,防止引用多了或者少了,多了会出现jar包冲突,少了则程序跑不起来。
其次,我们要管理很多的properties文件和XML文件,尤其是applicationContext.xml,有时候我们会将applicationContext.xml分成多份进行编写,比如说在Web项目下,我们可能将SpringMVC相关的配置项单独写在一个XML中,然后再通过import标签将他们组合起来。在这之中,我们往往可能造成如下的问题,bean写重复了,忘记写一些bean了或者是bean中的包名、类名写错了。这些问题都可能造成我们的项目跑不起来。
最后,我们启动Spring容器的时候也可能写错,比如说我们使用ClassPathXmlApplicationContext这个类来启动,然后XML的名字填错了呢?
以上都只是可能遇到的一部分坑而已。同时,对比其他语言,比如说Python,PHP,直接
1 | pip install django |
或者有WAMP或者LAMP环境下载即用,可能其他开发者已经在开发内容的时候,我们还在配置环境,这实在不够优雅。但是Spring Boot的出现帮助我们解决了这些个问题。
Spring Boot如何帮我们解决这些问题
约定优于配置
这些都得益于这样的理念:
约定优于配置
通俗的来说,就是Spring太强大,太自由了,你可以随便怎么玩,比如说我喜欢我的XML文件就叫java666.xml,那我只要在new ClassPathXmlApplicationContext类时,把class path:java666.xml当作参数传进去就可以了。
There are a thousand Hamlets in a thousand people’s eyes.
一千个人眼中有一千个哈姆雷特 (用英文就是为了装一下13 逃
每个人都有不同的命名方式或者配置,但是程序猿的工作确是一个相互协作的过程,当你看到其他人的代码时,甚至是自己以前写的代码时,是不是都会觉得,我勒个去,这是个啥?所以就出现了约定,都叫做applicationContext.xml吧,这样大家都懂。
基于约定、Spring JavaConfig和Maven。Spring Boot完美的帮我们解决了之前配置繁琐的问题。
Spring JavaConfig
什么?Spring JavaConfig又是什么。通俗的讲JavaConfig是Spring提供的一系列Annotation(注解),利用这一些Annotation,可以帮助我们将XML中的配置迁移到代码中,这样就能减少项目中对XML的使用。
这些Annotation包括
- @Configuration
- @Bean
- @ComponentScan
- @Import
- @PropertySource、@PropertySources
- @Profile、@ActiveProfile
- …
由于我们的侧重点是Spring Cloud,所以这里就简单介绍下。比如说被@Configuration标注的类就是我们的配置类,可以当作是替代我们的applicationContext.xml。而在配置类中,我们使用@Bean注解来配置需要被Spring容器管理的bean。@ComponentScan则是表示Spring所需要扫描的包。
这样说太抽象了,直接上代码,更加清晰:
1 |
|
以上代码中Config类以Java代码的方式替代了applicationContext.xml中的最重要的作用,配置bean,所以相当于代替了applicationContext.xml
@ComponentScan则相当于替代了applicationContext.xml中的
@Bean则是替代了
以上的方式都是使用Java代码的方式实现了在XML中所需要完成的工作,所以取名叫JavaConfig。那么重点来了:
有了JavaConfig和约定,我们则可以顺利的把很多东西按照约定搬到Java代码中去,不用再费劲去写XML了
Maven
Maven我相信大家再熟悉不过了,通过Maven我们可以方便的构建我们的项目、管理jar包、甚至是利用Maven的Plugin帮助我们编译、打包我们的项目。而Spring Boot则是借助了Maven对于项目的管理帮助我们解决了各种jar包依赖的问题。
通过将pom文件的parent配置为Spring-Boot-Starters-parent这个pom文件,以及引用Spring-Boot-Starters的其他各个pom文件,这样就配置好了我们使用Spring开发环境或需要依赖的jar包以及版本。
1 | <modelVersion>4.0.0</modelVersion> |
以上为使用Spirng Boot Initializr生成的Spring Boot项目的pom文件。
其中可以发现
熟悉Maven的朋友可能就明白了,实际上
当我们在自己的pom文件中,在
那么spring-boot-starter又是什么呢,官方解释是
Core starter, including auto-configuration support, logging and YAML
点进去看一下:
1 | <dependency> |
其实还是在帮我们引入jar包嘛。spring-boot就包含了我们之前手动配置Spring环境的时候需要引入的一系列jar包。然后就是Spring Boot中所需的spring-boot-autoconfigure,logging等一些依赖了。
有些朋友估计又有疑问了,spring-boot-autoconfigure又是什么,实际上就是利用Java Config,使得我们约定好的一些配置Bean,比方说我们配置MySQL的时候,肯定需要配置Datasource这个bean,而Datasouces这个bean中当然有url、driverClassName、username、password等属性要配置(可以是默认的也可以是手动在application.properties中配置的)可以自动交给Spring容器管理。(至于怎么做到自动的,这个后面会有专门的Spring Boot系列文章来剖析,不然的话Spring Cloud写不完了…逃)
总结
至此,基于约定优于配置、Java Config、Maven(Gradle),Spring Boot帮助我们解决了如下几个传统方式下构建Spring Application时的问题:
- XML文件过多难以管理以及XML中没有编译器提示造成的写错后难查找的问题
- jar包管理、冲突和版本问题
- 启动、部署简单(一个main方法解决问题)
使用Spring Boot
以上讲了那么多Spring Boot是什么,有什么优点,基于什么实现的。终于到了使用Spring Boot的环节。其实使用Spring Boot非常简单,有以下几种方法:
手动创建Maven项目
- 引用Spring Boot提供的jar包
- 在项目的包名下创建一个Application类
- 打上@SpringBootApplication注解
- 在main方法上,写一句 SpringApplication.run(Application.class, args); 即可
1 | package com.zeelam.learning.spring_boot; |
注意:项目包名的意思是com.zeelam.learning.spring_boot下面,也就是说在这个包下面,还有其他很多的包,比如说com.zeelam.learning.spring_boot.domain,com.zeelam.learning.spring_boot.mapper等等。
之所以需要这样做的原因是@SpringBootApplication注解实际上是由三个注解:
@SpringBootConfiguration
@EnableAutoConfiguration
@ComponentScan
组成,而在ComponentScan上默认的的值是扫描当前包及其子包,所以一般都将Application这个类放在最上层的包里面。
从https://start.spring.io/上面构建并下载下来
- 到https://start.spring.io/上
- 选择你需要的依赖、版本等
- 构建、下载,然后在IDE中打开即可

在IDE中使用提供的插件直接构建
实际上还是通过Spring Initializr来做这件事,只是IDE帮你直接封装好了,不需要再去下载到本地再打开。这里使用IDEA作为演示

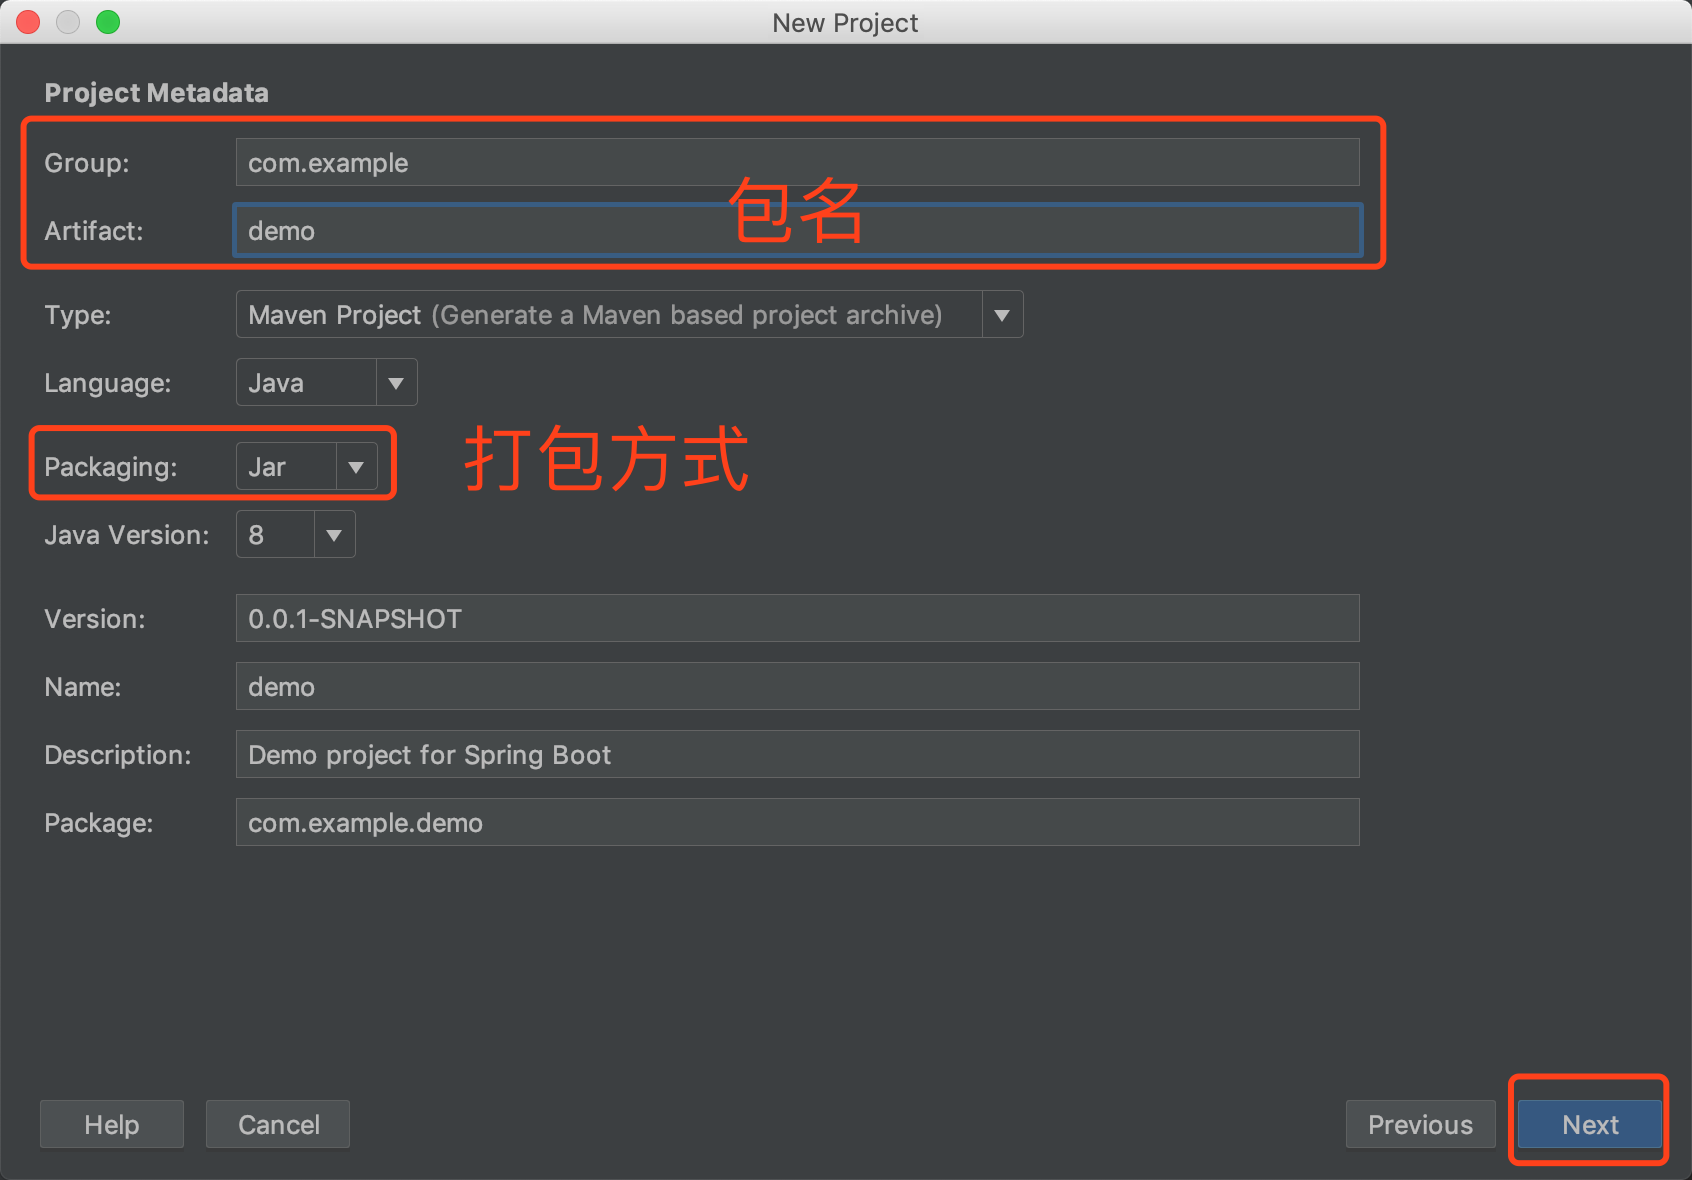

然后按下Next,IDEA就会直接帮你构建一个Spring Boot项目,是不是So easy。